I know they've kinda been done to death, but I absolutely love me a pair of scalloped shorts! In all fairness though, we've had a mega long winter in the UK and not had the proper chance to sport them so I've created a few pairs out of old vintage trousers as part of the LLPA re-worked vintage range coming up! Yay! BONUS part is, I'm taking the risk of walking you through the whole process of one of them in this blog...here goes!

What You'll Need:
* 1 tape measure.
* 1 pair of super sharp scissors suitable for fabric.
* 1 dark marker.
* 1 dark pen or dressmakers chalk.
* Either an empty tin can, jar or old cup that will be thrown out. Anything with a circular diameter of no more than 3-4 inches.
* Craft glue. NOT water soluble and suitable for textiles.
* A small paintbrush.
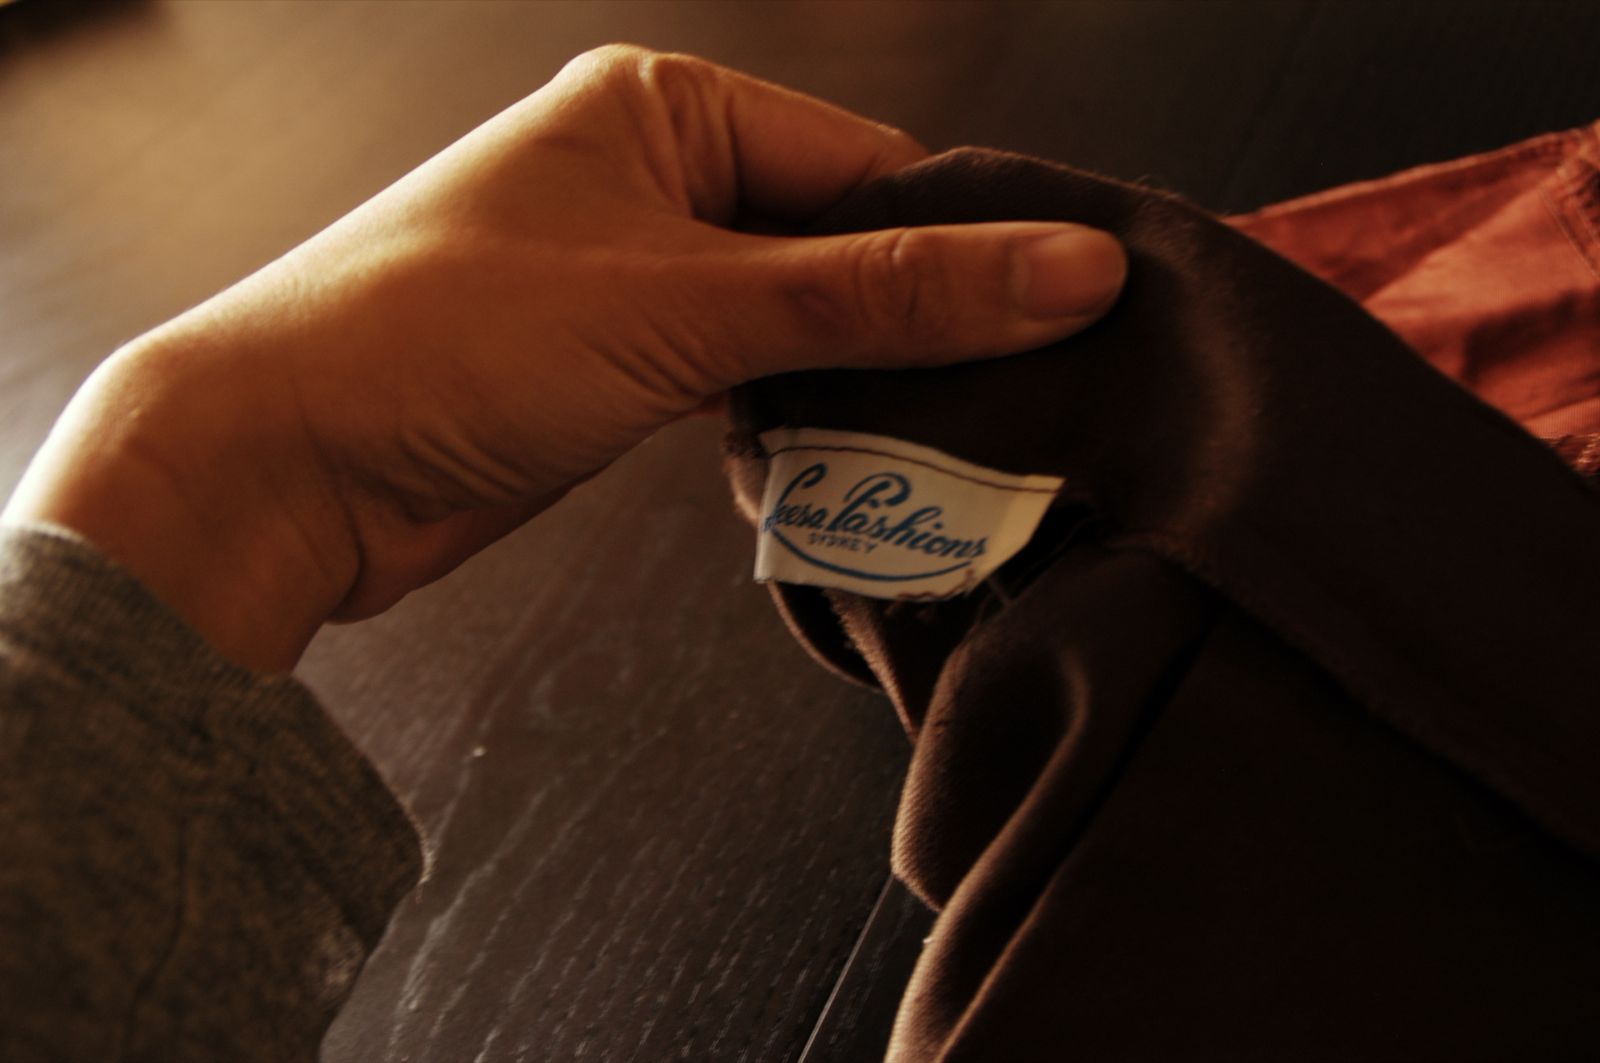
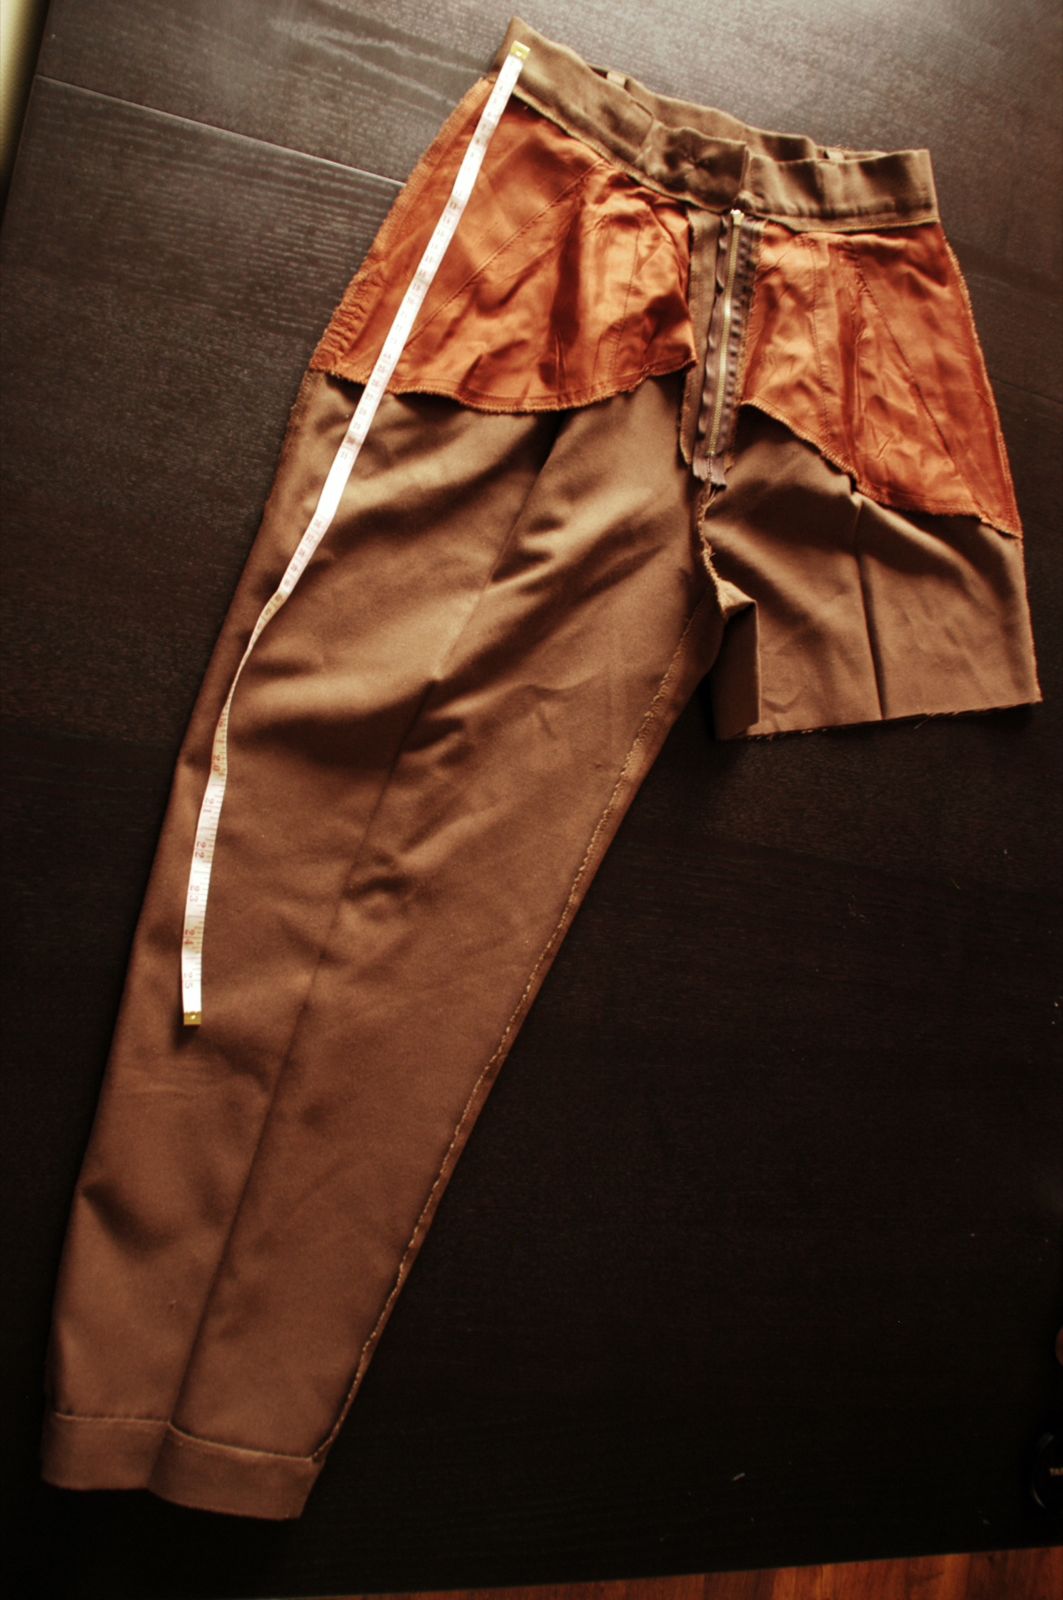
* A pair of trousers in need of re-vamping. In this case I've got a pair of vintage high waisted, tapered trousers with button and zipper.
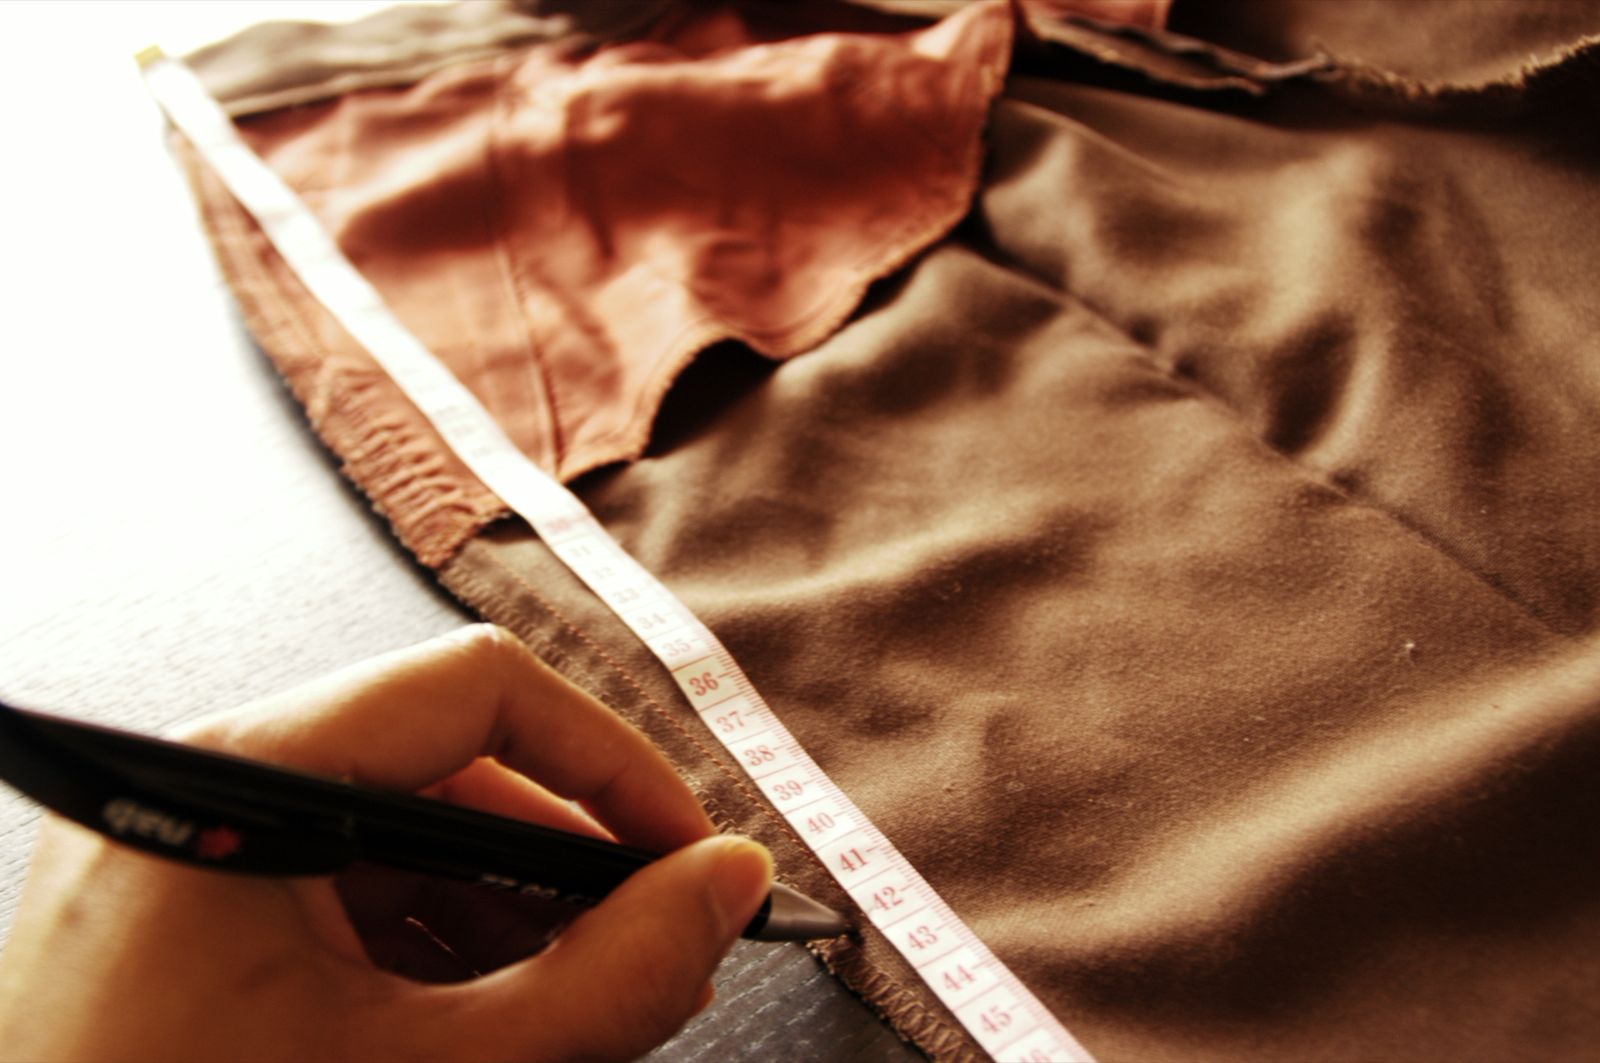
1. Turn the trousers inside out. This helps to ensure that no marker mistakes can be seen on the outside.
2. Use a tape measure and a marker to measure and mark the outside of the trouser to the length you desire.
3. Do the same with the inner leg of the trouser, measuring down from the inner crotch.
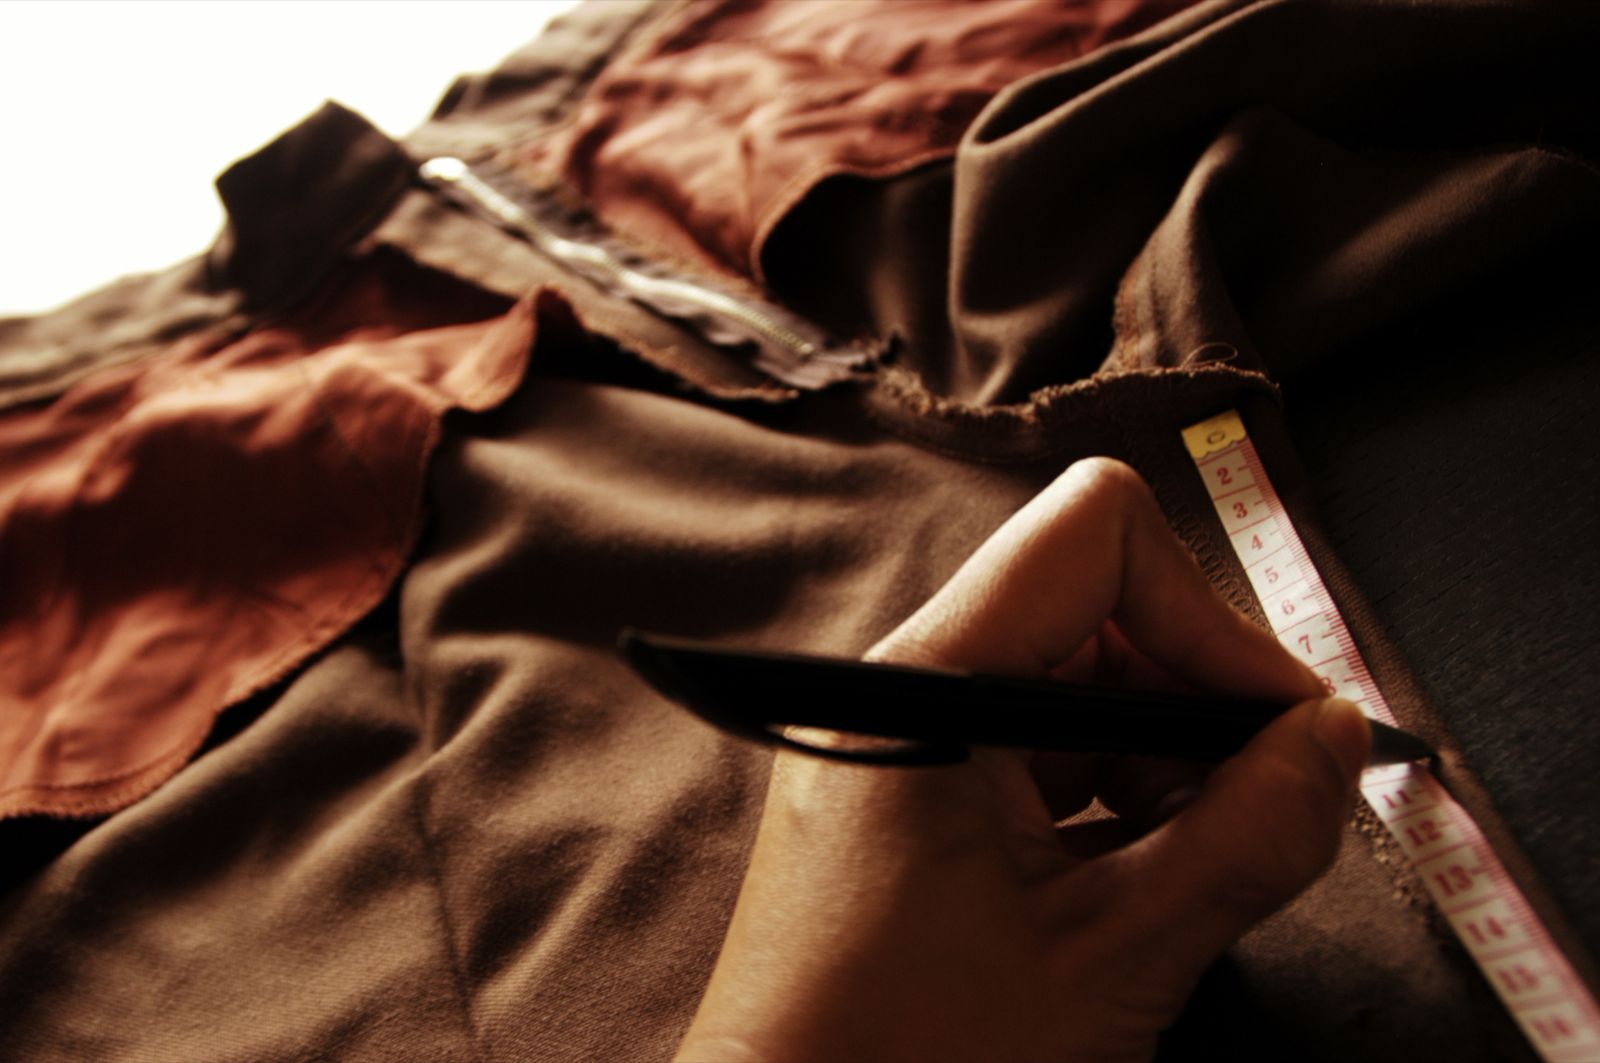
4. Repeat steps 2. and 3. for the other trouser leg ensuring that the marking measurements for both legs are the exact same.
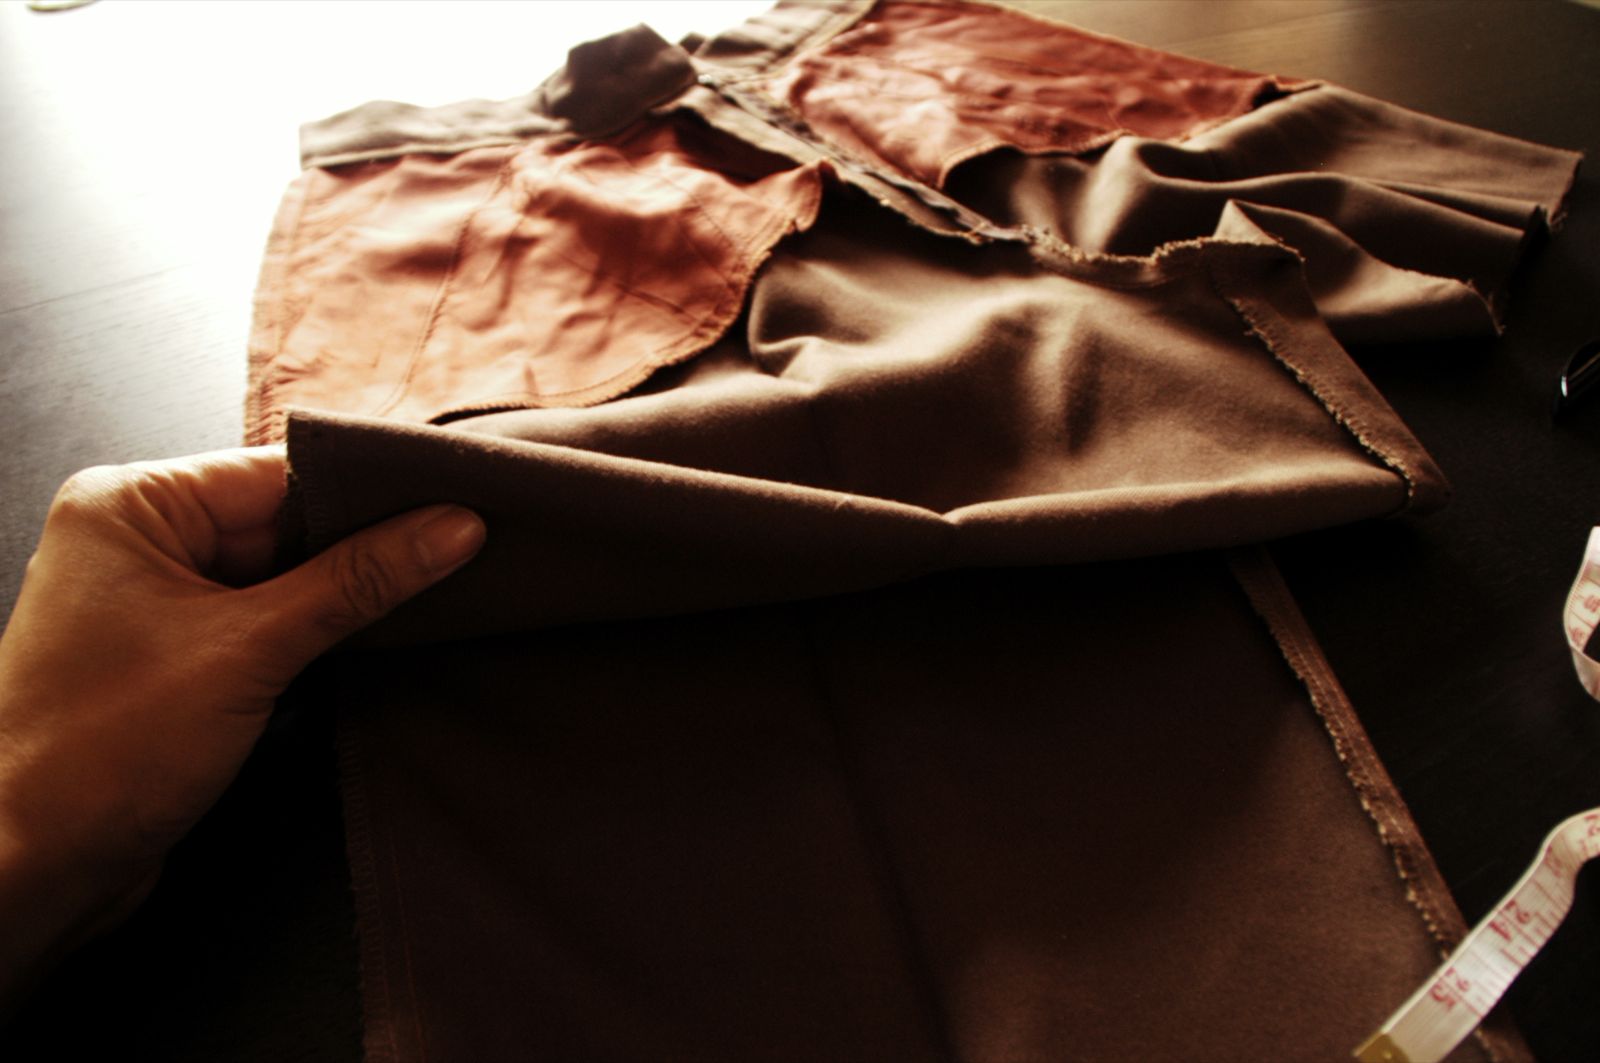
5. Fold the trouser leg at both the outer and inner marks made. Ensure that a good line is formed, preferably with the outer leg being approximately 2 centimetres higher than the inner leg.
6. Once satisfied with the length, proceed to cut the trouser leg at the fold. Carefully ensure that the fold is precise with the markings made earlier. If you are not confident cutting straight off the fold, fasten the fold with pins or draw a line from the inner and outer leg markings with a ruler and dressmakers chalk prior to cutting.
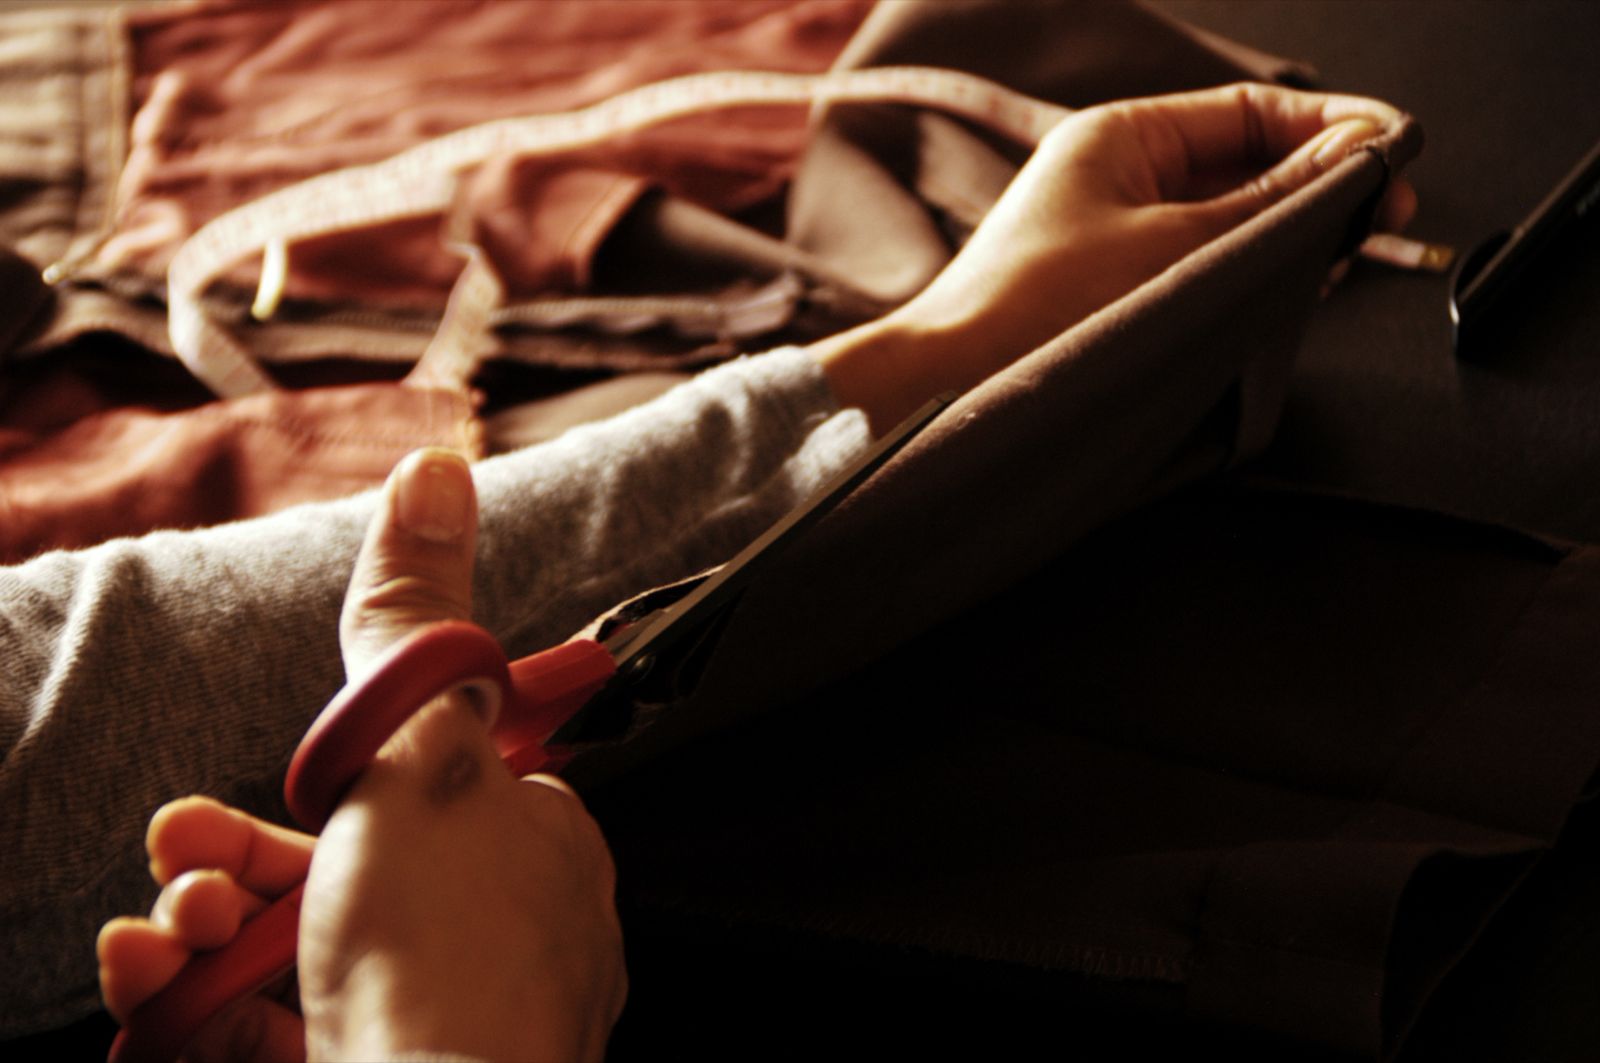
The first cut trouser leg should look like this.
7. Repeat steps 5. and 6. on the other trouser leg.
8. Once trousers are cut, lay them flat on a sturdy, even surface. Measure the bottom of each trouser leg and divide the measurement evenly by around 4 or 5 depending on how big you want your scallops. Eg. If measurement is 12 inches and I want 4 scallops at the front and back, they would have to be 3 inches wide each.

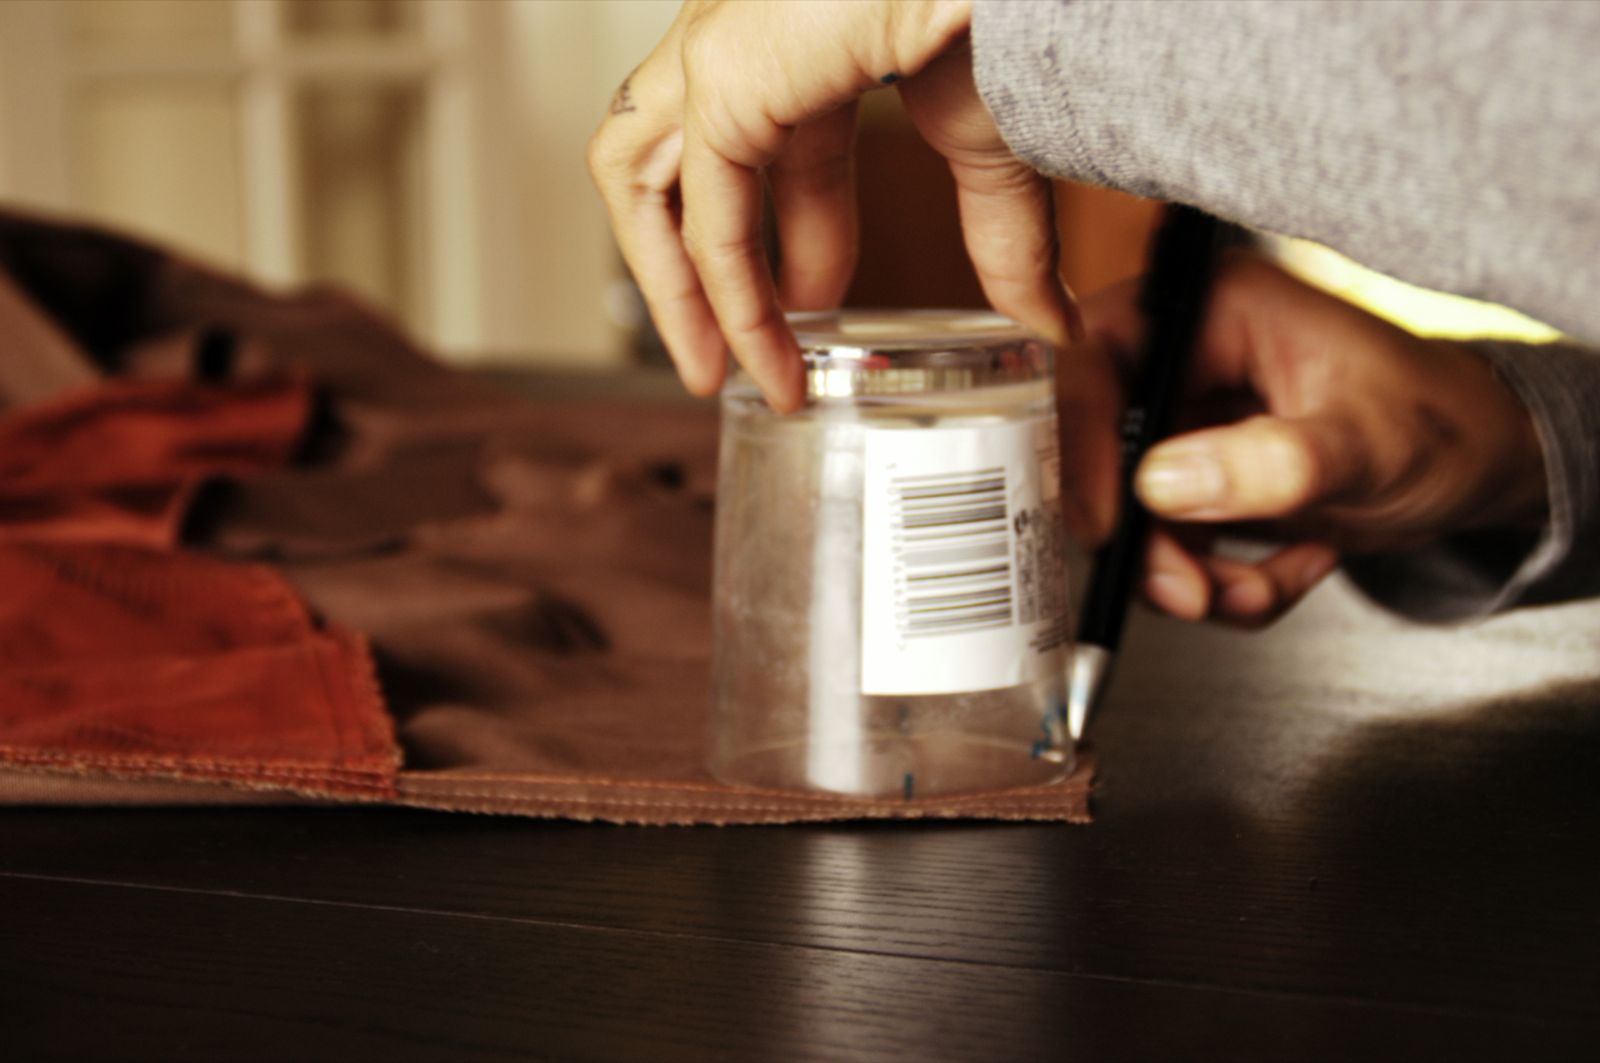
9. Take the unneeded cup, can or item with a round circumference, place your measuring tape on top of it, move it up or down the rim until it measures the desired width of your scallop. Eg. If you want the scallop to be 3 inches wide. Measure out and mark the rim of the cup at 3 inches.

* Its handy to mark the rim below these measurements and ensure that this marking is always on the bottom when proceeding with the next step.
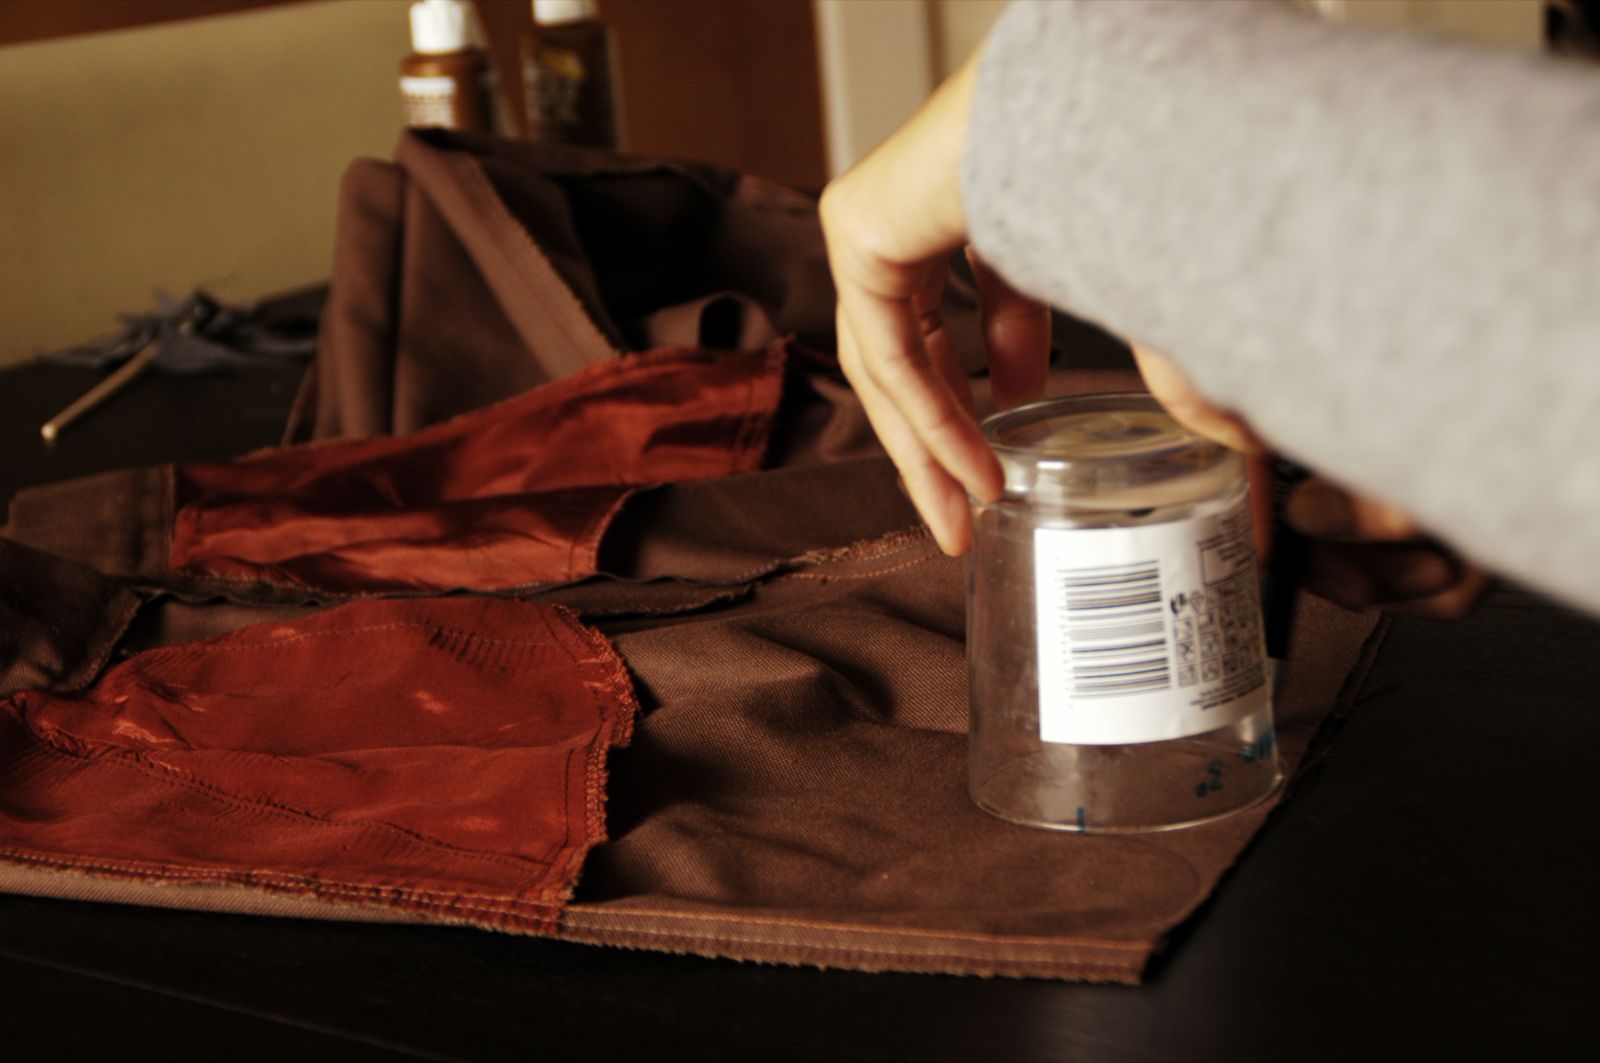
10. Now for the tricky part ;). a) Place the rim of the marked cup/tin can etc down as close to the seam of the trouser leg as possible. Line the first marking on your marked cup/tin can up wit the outside edge of your trouser leg seam. Imagine that there is a line that joins the two markings on your cup/tin can etc. Try to ensure that this imaginary line runs parallel to the bottom of the trouser to ensure even sized scallops.
b) Now proceed to trace the bottom of the rim from mark to mark. Try to be as precise as possible. Make more scallops along the bottom of the trouser leg by lining the markings up with the end of the last scallop made.
11. Repeat all of step 10. for the front and back of each leg always starting from the outside leg of the trouser. If your measurements are right, you should have your desired amount of scallops spread out evenly.
12. Once satisfied with the markings, carefully cut along the outside of each scallop. Try to make these cuts as clean as possible as they will pretty much determine the final outcome.

13. Once all the cuts are made, take your textile glue and paintbrush and carefully paint the edges of all the scallops. It's a tricky job, but try to only paint the edge and not on the trousers. This is purely to prevent fraying.

14. Allow the glue to dry clear and repeat gluing process.
15. Accessorise with a cute belt, scarf etc and VOILA, Scalloped Shorts!
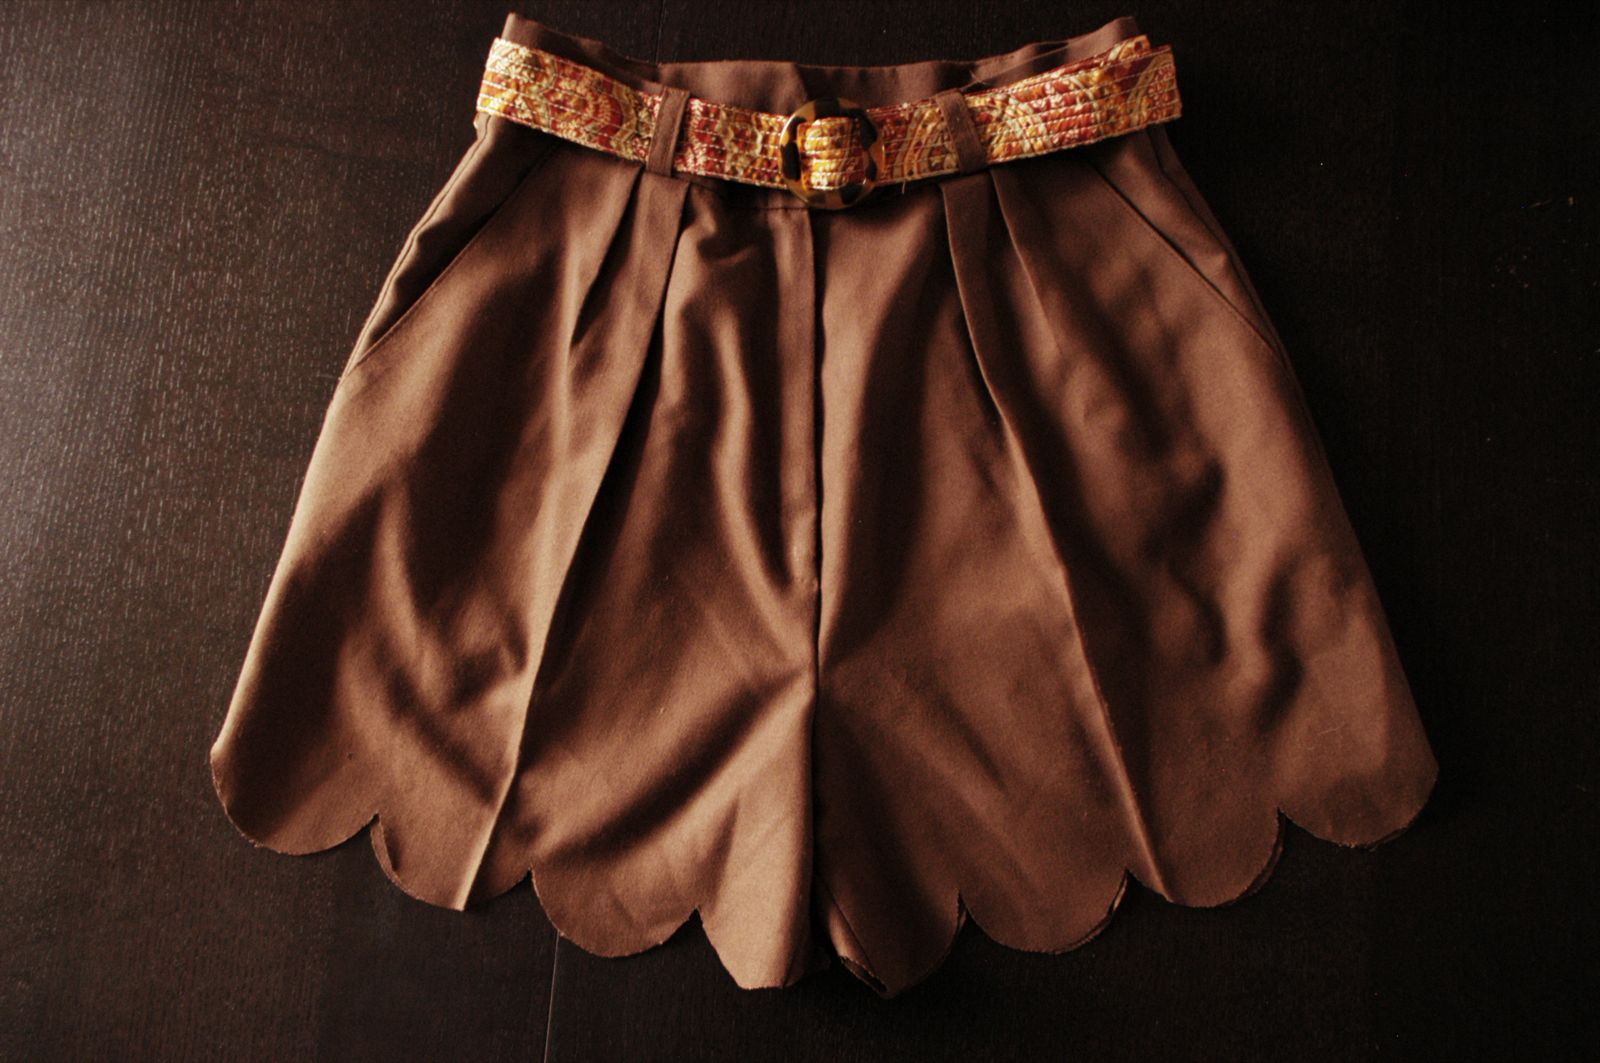
These re-worked vintage shorts and belt along with other re-worked and original condition vintage goodies will be available for purchase online shortly!
Being a first time DIY instructor, I hope there is enough info and visual for you! Try this out yourself and get creative! I'd love to hear how you went with it!
xx Jo
This is an amazing DIY! I'm suddenly really frustrated I don't have any pairs of pants I could do this with. The scalloping at the bottom is really the perfect finishing touch.
ReplyDeletewow this is such a fab diy. the finished product looks like it came straight from a designers clothes rail!
ReplyDeleteHelen, X
http://areyoudressingupordressingdown.blogspot.com
So glad you like it guys! You really should have a go at making a pair yourself, it's so easy! If all else fails, I'll be selling these pair as well as a cute grey pair with black satin bow details on Ebay for auction, starting at dirt cheap ££! Keep an eye out for DIY's soon! ;D xx
ReplyDelete